
Classic Apple Pie
A from-scratch double-crust apple pie with a flaky butter-and-shortening crust and a cinnamon-spiced apple filling, brushed with egg wash and coarse sugar.
- 12 tablespoons (1 1/2 sticks) very cold butter, divided
- 3 cups flour
- 1 teaspoon kosher salt
- 1 tablespoon sugar
- 1/3 cup very cold shortening
- 6-8 tablespoons ice water (about 1/2 cup)
- 5 cups sliced and peeled apples (a combination of baking apples)
- 1 cup brown sugar
- 6 tablespoons cornstarch
- 1 teaspoon cinnamon
- 1/4 teaspoon salt
- 1 tablespoon diced butter
- 1 egg mixed with 1 teaspoon water
- Coarse sugar, for topping
- Dice the very cold shortening and 12 tablespoons of the butter into small cubes and keep them chilled until you're ready to use them. Working with genuinely cold fat is the single biggest factor in a flaky crust, so don't let them sit out.
- Put the flour, kosher salt, and sugar into the bowl of a food processor and pulse a few times just to combine. This quick pulse makes sure the dry ingredients are evenly distributed before the fat goes in.
- Add the cold butter and shortening to the processor and pulse 8 to 12 times, until the fat is broken down into pieces about the size of peas. Stop before it goes any further — those small chunks of fat are what create flaky layers as the crust bakes.
- With the machine running, pour in the ice water in a steady stream and pulse just until the dough begins to clump together and form a ball. Add only as much water as needed to bring it together; too much will make the crust tough.
- Turn the dough out onto a floured board and gather it into a ball, then divide it in half. Wrap each half tightly in plastic wrap and refrigerate for 30 minutes to let the gluten relax and the fat firm back up.
- While the dough chills, preheat your oven to 425°F.
- Make the filling by mixing the sliced apples, brown sugar, cornstarch, cinnamon, and salt together in a large bowl until the apples are evenly coated. The cornstarch will help thicken the juices as the pie bakes instead of leaving you with a soupy filling.
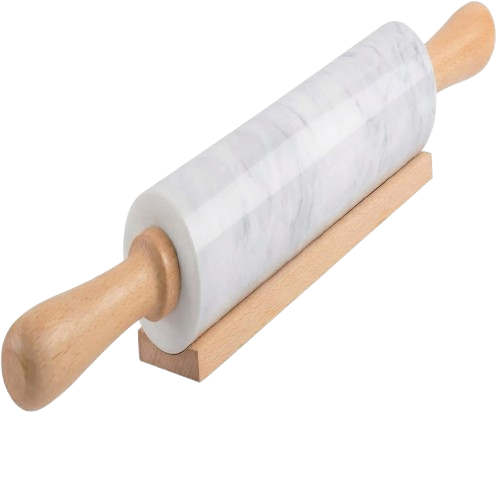
- Roll out one ball of dough on a well-floured board into a circle large enough to line your pie pan. Fold the dough in half to transfer it without tearing, place it in the pie pan, and unfold it so it settles evenly into the bottom and sides.
- Arrange the apple filling over the bottom crust, then dot the top with the diced tablespoon of butter, scattering it evenly across the surface. Roll out the second half of the dough and lay it over the filling.
- Trim away any excess dough hanging over the edge of the pan, then crimp or flute the edges to seal the top and bottom crusts together. Cut a few small slits into the top crust so steam can escape as it bakes.
- Brush the entire top crust with the egg wash, then sprinkle generously with coarse sugar for a crisp, sparkly finish.
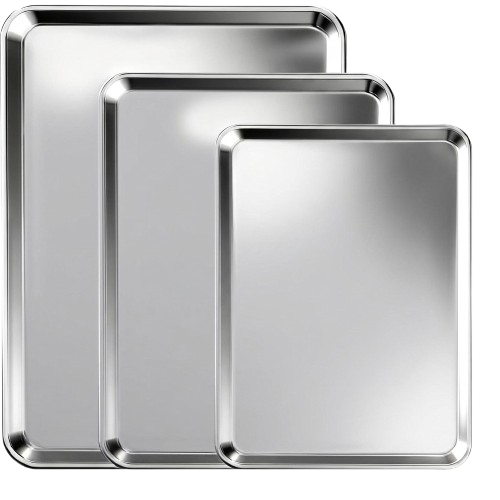
- Set the pie on a baking sheet to catch any drips and bake for 25 minutes at 425°F, then reduce the oven temperature to 350°F and continue baking for another 40 minutes.
- Check for doneness by inserting a knife through one of the vent slits — if the apples aren't tender yet, keep baking and check again every 5 to 10 minutes until they are.
- If the crust starts browning too quickly at any point, loosely tent the pie with foil to protect it while the filling finishes cooking. Let the pie cool before slicing so the filling has time to set.
Chef's Note: The two-stage oven temperature here does real work — starting hot at 425°F sets the crust quickly so it doesn't turn soggy from the apple juices, then dropping to 350°F lets the filling cook through gently without scorching the top. A mix of baking apples, rather than just one variety, gives the filling more textural and flavor complexity than any single apple can on its own.
Keeping every piece of fat genuinely cold — the butter, the shortening, even the water — is what separates a flaky crust from a tough one, so don't skip the chilling step even if you're tempted to rush. This pie is also a good make-ahead project: the dough can be wrapped and refrigerated a day in advance, or the fully baked pie can sit at room temperature and still taste great the next day.
A few tools that make this recipe easier to get right.

As an Amazon Associate, Salt & Simmer earns from qualifying purchases made through these links, at no extra cost to you.